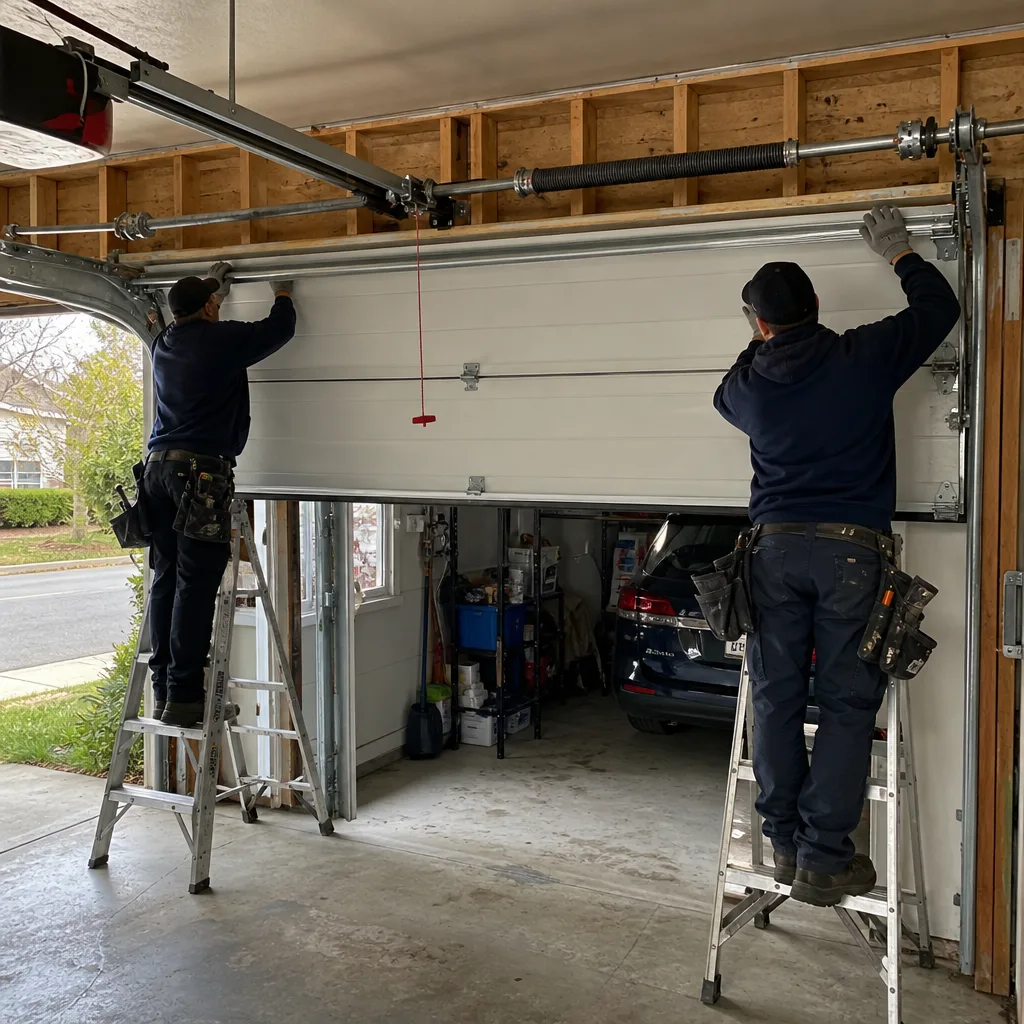
Last updated November 22, 2026
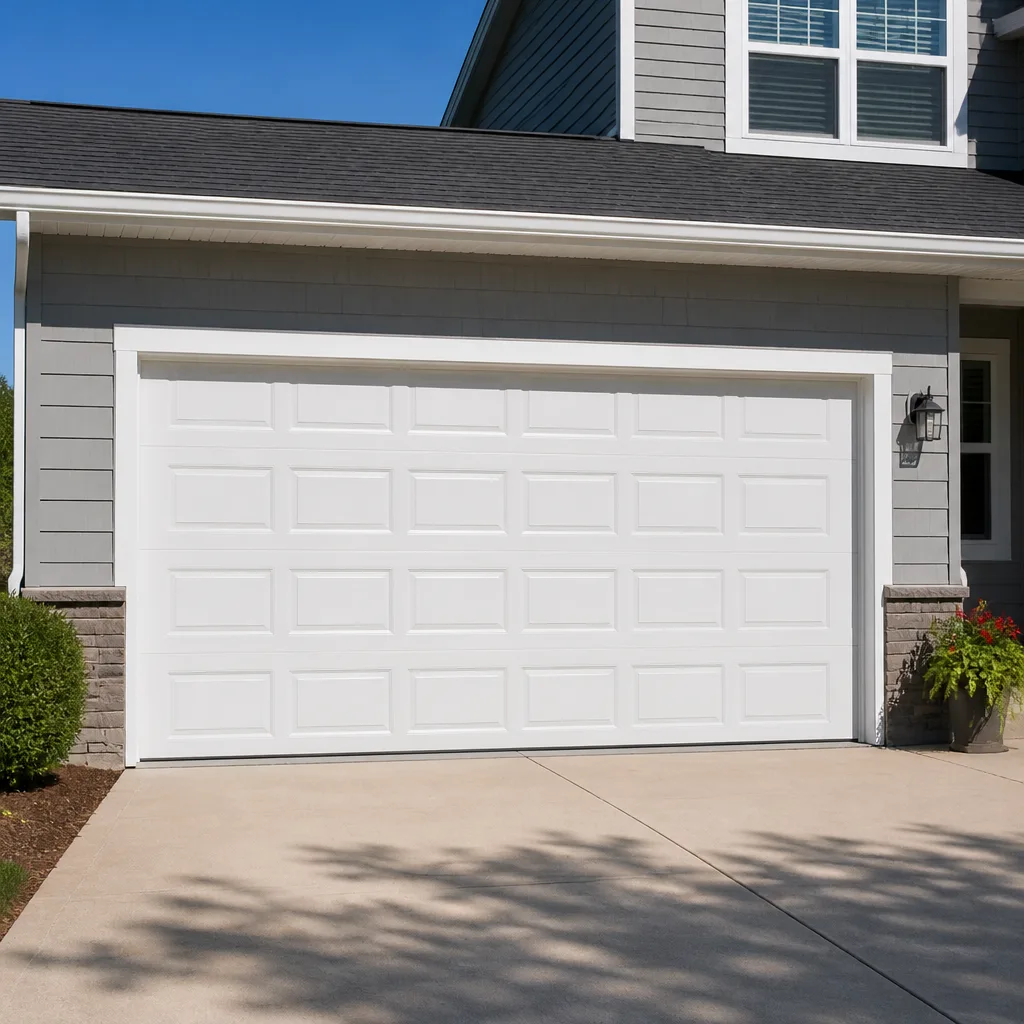 Raised-panel steel
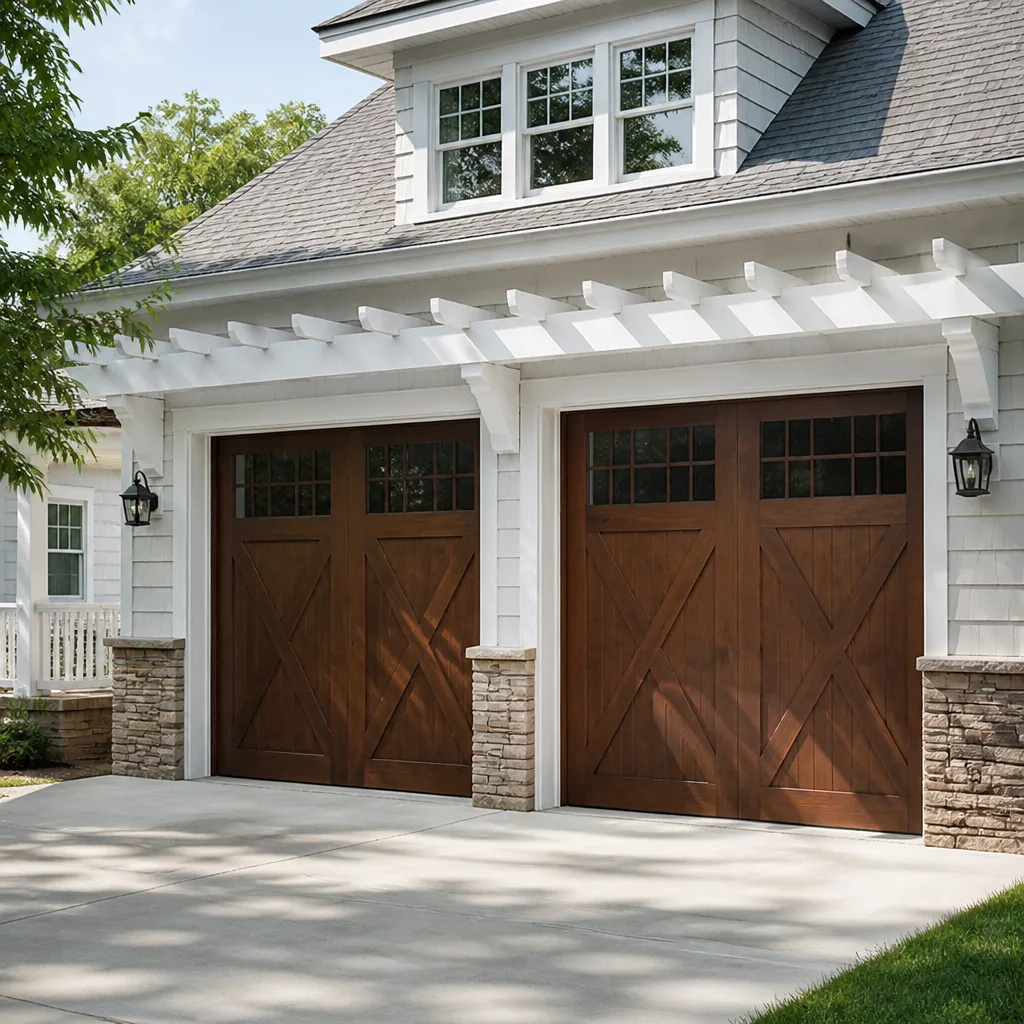 Carriage house
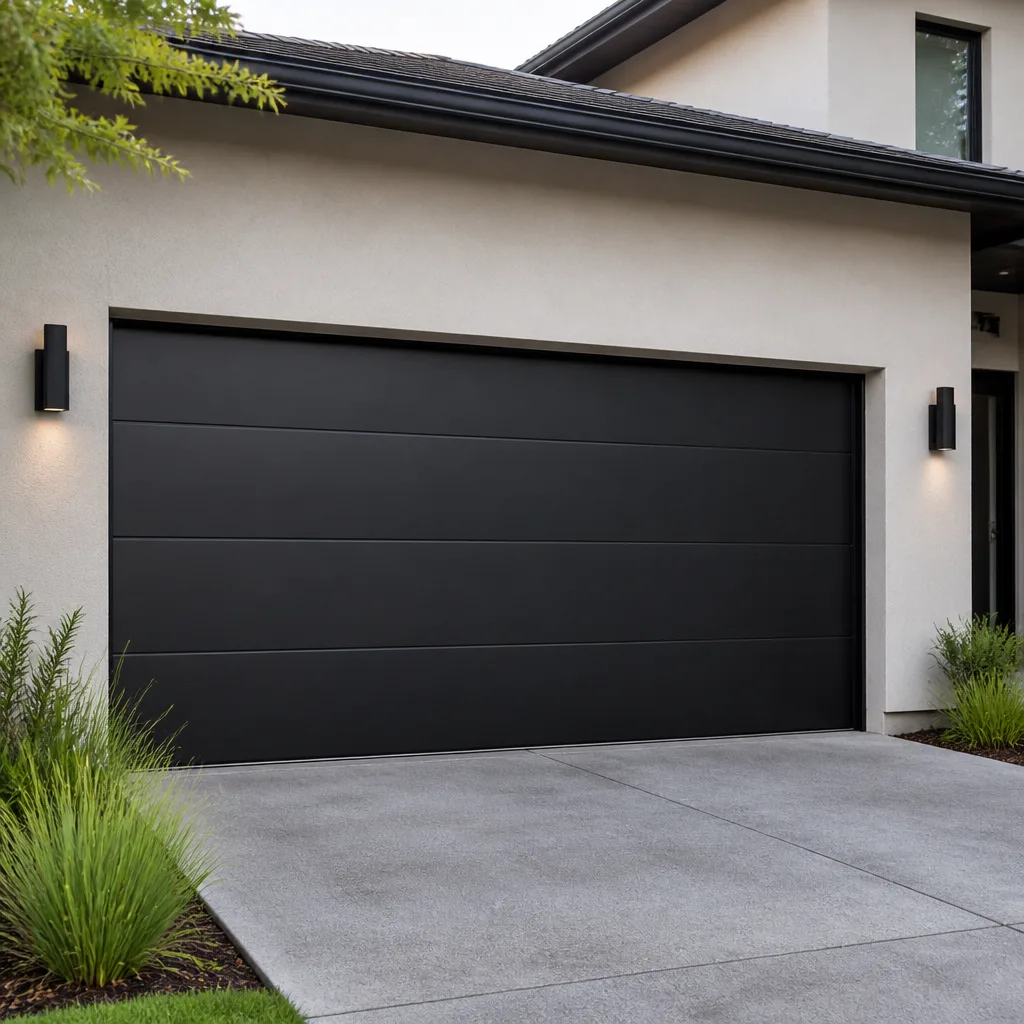 Modern flush
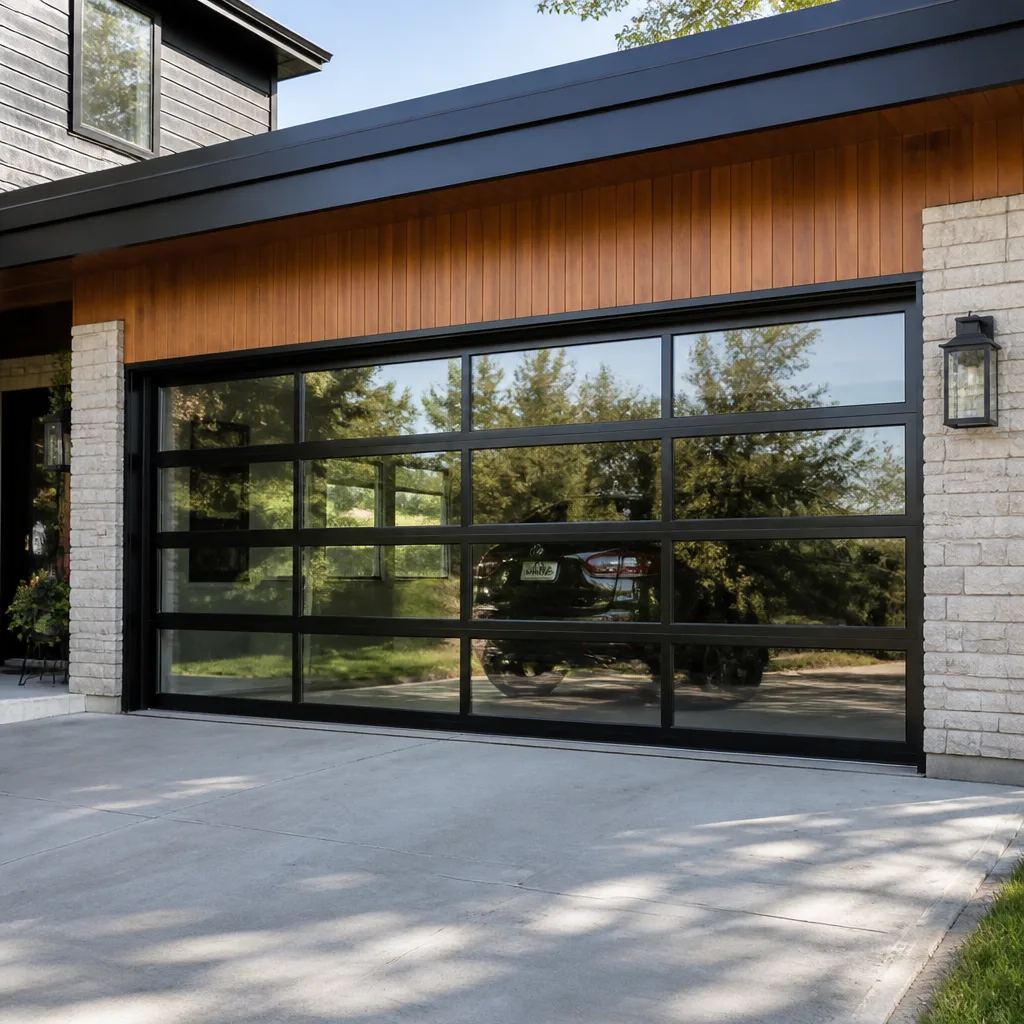 Full-view glass
 LiftMaster openers
 Chamberlain openers
Full 25-point door and opener safety check with every visit - springs, cables, rollers, tracks, and your LiftMaster or Chamberlain opener included
You get a price before we start. It does not change when the pro arrives.
Get your free estimateGarage Door Repair Maintenance Checklist for Lowell Homeowners
Most maintenance checklists for garage doors get one thing wrong from the first line: they tell you to lubricate everything that moves. The torsion spring shaft is the exception, and lubricating it can speed up wear instead of preventing it. That single distinction is why so many homeowners finish a “tune-up” and still hear a grind a few weeks later. This guide is built differently. It follows the actual failure points that show up again and again on the brands installed in Lowell homes, sorted into what you can handle yourself and what needs a technician. You’ll get a seven-point balance test, brand-specific maintenance notes, the lubrication rules that matter for nylon versus steel rollers, and a realistic time budget for each task so you know what a full checkup really takes.
Quick Answer
A full garage door maintenance checkup takes about 30 to 45 minutes for the homeowner-doable tasks and should happen once or twice a year. The jobs that matter most are balancing the door, testing the safety reverse, tightening hardware, and lubricating the correct parts with the right product. Anything involving springs, cables, or the opener’s electrical board should go to a trained technician.
Styles & brands we work with
- Raised-panel steel
- Carriage house
- Modern flush
- Full-view glass
- LiftMaster openers
- Chamberlain openers
Table of Contents
- Why a Brand-Aware Checklist Matters in Lowell
- What You Can Check Yourself (and How to Do It)
- The Seven-Point Balance Test That Catches Spring Wear Early
- Lubrication Rules: Nylon vs. Steel Rollers, and What to Skip
- Brand-Specific Maintenance Notes for Lowell Doors
- Electrical Safety Checks Most Homeowners Miss
- A Realistic Time-Per-Task Breakdown
- How Lowell Weather and Housing Shape Your Maintenance Calendar
Why a Brand-Aware Checklist Matters in Lowell
Garage doors are not interchangeable machines. A Clopay sectional door and a Wayne Dalton model can look similar from the street, but their panel seams, track profiles, and roller assemblies wear in different ways. A generic checklist that says “tighten all bolts” and “apply lubricant” leaves out the parts that matter for your specific door. That’s why we build maintenance guidance around the brands we service: Amarr, Wayne Dalton, Craftsman, Raynor, LiftMaster, Chamberlain, Genie, and Clopay. When we know the brand, we know where to look first.
In Lowell, that brand knowledge matters even more. Neighborhoods like Belvidere and the Highlands are full of older homes where a door may have been replaced once in the last two decades, while newer construction near the river and the downtown corridors tends to carry newer systems with smart openers. Both need maintenance, but not the same maintenance. An older Craftsman opener on a Wayne Dalton door has different priorities than a Chamberlain myQ setup on a Clopay install.
Getting this right is the difference between a door that lasts and one that surprises you on a cold morning. We’ve seen doors that were “maintained” every year but still failed early because the homeowner was lubricating the spring shaft, over-tightening track bolts, or ignoring the opener’s logic board entirely. A checklist that skips those distinctions is worse than no checklist, because it gives you false confidence.
The other reason brand matters: warranty terms. Some manufacturers specify compatible lubricants and care routines. Using the wrong product on nylon rollers can be enough for a manufacturer to question a claim. That’s not a scare tactic; it’s the reality of how warranties are written. Knowing your brand and reading its maintenance guide is worth ten generic checklists.
What You Can Check Yourself (and How to Do It)
About two-thirds of a good maintenance routine is homeowner-appropriate. None of it involves taking anything apart, and none of it requires tools you don’t already own. Here’s the routine we recommend for a standard checkup on any door in Lowell. Work through it in order.
- Visual inspection from the floor. Look at the panels, the track, and the hinges. You’re checking for dents, rust spots, loose hinges, and any track that’s visibly out of line. Clopay panels tend to collect debris in the seams; Wayne Dalton panels are often smoother but more prone to dents. Note anything that looks off.
- Listen to the door as it opens and closes. A steady hum is fine. A grind, a squeal, or a rhythmic thump is telling you where to look next. Note roughly when in the cycle the noise happens – that’s a diagnostic clue for a technician.
- Check the hardware by hand. Gently test the hinges, roller brackets, and the bracket that holds the door arm to the opener. Anything loose that you can wiggle by hand deserves a wrench. Don’t force bolts tight; snug is enough.
- Test the manual release. Pull the red emergency release handle with the door closed, then lift the door by hand. It should move smoothly. Reattach the release when you’re done. This is also how you start the balance test below.
- Check the weather seal along the bottom. In Lowell, a seal that’s hardened or cracked lets in cold air and water. Run your hand along the bottom edge; you should feel a continuous, flexible seal with no gaps.
- Look at the photo-eye alignment. The two small sensors at the bottom of your tracks should face each other. A quick visual check that neither is knocked out of line saves a lot of mystery “won’t close” calls.
Two things you should not do yourself: touch the springs or the cables. Those are under extreme tension and are the leading cause of serious injury in garage door work. Leave them to a trained technician. If you want a professional eye on the whole door, our garage door repair team can walk the checklist with you and flag anything before it becomes a bigger job.
The Seven-Point Balance Test That Catches Spring Wear Early
Springs are the most common failure point on any garage door, and they almost always give warning before they break. The balance test is how you hear that warning. It takes about two minutes and can be done on any door, regardless of brand.
- Close the door fully and engage the manual release so the door is disconnected from the opener.
- Lift the door by hand to about waist height. It should feel light and steady, not heavy or jerky.
- Let go. A balanced door stays where you left it. A door that sinks is carrying too much weight, which points to weakening springs.
- Repeat at half height and at shoulder height. The door should hold at each position.
- Lower the door. It should descend smoothly without slamming or speeding up.
- Lift it again and check for side-to-side wobble. Wobble usually means track alignment, not springs, but it’s worth noting.
- Reconnect the opener and run one full cycle. Listen for a change in sound from when you started.
If the door fails the balance test – sinking, heavy, or wobbling – you probably have spring wear. In Lowell’s older housing stock, especially in the Highlands and sections of Pawtucketville, we see plenty of doors where springs are nearing the end of their life and are only showing it through balance, not through a break yet. That’s the right moment to call.
Spring repair is a precision job and a genuinely dangerous one. It’s also a service general handymen usually decline. Our garage door spring repair service exists specifically because this is the part of the door where accuracy matters most. If the balance test tells you it’s time, don’t put it off.
Lubrication Rules: Nylon vs. Steel Rollers, and What to Skip
Lubrication is where homeowner checklists go wrong most often, and the mistake is usually one of two: lubricating the wrong parts, or using the wrong product. Get this right and your door runs quieter and lasts longer. Get it wrong and you may void a warranty or accelerate wear.
Parts you should lubricate
- Hinges (a light spray on the pivot points)
- Roller stems and bearings (on steel rollers – see below)
- The track where rollers ride (very light, wipe off excess)
- The opener’s chain or screw drive (per manufacturer’s spec, with the specified product)
- Lock mechanisms and the manual release lever pivot
Parts you should not lubricate
- The torsion spring shaft. This is the counterintuitive one. Lubricating the shaft attracts dust and debris into the coil windings and can wear the spring faster. Leave it dry.
- Nylon rollers. Nylon is self-lubricating. Applying spray lubricant can degrade the nylon over time, and some manufacturers specifically exclude damaged nylon rollers from warranty coverage when the wrong product has been used. If you’re not sure whether your rollers are nylon or steel, look at the color – nylon rollers are usually white or cream. Steel rollers are silver.
- The photo-eye lenses. A wipe with a dry cloth is fine, but no spray.
- Any painted surface or panel seams. Lubricant collects dirt and traps grit in the seams.
Which product to use, on what
This is where brands diverge. Many modern door manufacturers recommend a non-silicone, non-petroleum-based garage door lubricant on rollers and hinges. Some specify a lithium lubricant; others specifically advise against it because it gums up over time. For opener chains, follow the opener brand’s guidance, which is often a dry lubricant rather than oil. Raynor doors are typically fine with a general-purpose garage door lubricant. Craftsman openers often call for specific chain lube. When in doubt, read the manual for your brand. The wrong product on the wrong part is more likely to cause a problem than skipping one lubrication cycle.
A quick rule of thumb: a small amount applied to a rag and wiped onto the part goes further than a spray can liberally applied. You’re after a thin film, not a coating. If you can see the lubricant pooling, you’ve used too much.
Brand-Specific Maintenance Notes for Lowell Doors
Here’s where our experience on eight major brands becomes useful. The following notes reflect what we see repeatedly on each system in Lowell homes. They don’t replace your owner’s manual, but they point you toward what to look at first.
Wayne Dalton
Wayne Dalton doors are common in Lowell and generally forgiving, but panel seams are shallower than a Clopay and can catch debris without looking dirty. Two or three times a year, run a dry cloth along the seams and look for grit. On Wayne Dalton doors with track-mounted rollers, check the track’s vertical alignment seasonally – a slight lean is more visible on these doors than others.
Amarr
Amarr sectional doors on Lowell homes tend to show wear at the bottom section first, especially where the weather seal meets the concrete. Check that bottom seal quarterly. Amarr hinges are often tighter from the factory, so if you hear a squeak, it’s likely a roller stem rather than a loose hinge.
Craftsman
Craftsman openers are everywhere in Lowell, especially on older homes where the opener predates the current door. The two maintenance tasks that matter most: testing the safety reverse (see below) and checking the rail tension. Craftsman rails are generally more tolerant than some brands, but slack in the chain or belt is a consistent source of mystery noise. If the opener hums without moving the door, stop and call – don’t keep cycling it.
Raynor
Raynor doors in Lowell are less common than Wayne Dalton or Clopay but turn up in specific neighborhoods. Raynor panels are generally durable but their fasteners benefit from an annual snug-down. If you notice the door not sitting flush at the bottom in one corner, it’s usually a hinge or roller bracket that needs attention, not a spring issue.
What matters across all brands: your door’s manual and warranty are the authority. If you’re unsure of your brand or model, a technician can usually identify it in minutes. Our opener work covers every platform we see in Lowell, including garage door opener repair for legacy Craftsman and Genie systems as well as newer LiftMaster and Chamberlain myQ openers.
Electrical Safety Checks Most Homeowners Miss
The opener is an electrical device, and most homeowners never touch it beyond pressing a button. That’s fine – you shouldn’t open an opener’s housing. But there are checks you can do safely, and there are warning signs to watch for on any of the major opener brands, whether LiftMaster, Chamberlain, Genie, or Craftsman.
Safe checks you can do
- Test the safety reverse monthly. Place a small object in the door’s path (a roll of paper towels is fine) and press close. The door should reverse on contact. If it doesn’t, stop using the opener and call a technician.
- Test the photo-eye monthly. Wave your hand slowly through the beam while the door is closing. The door should reverse. If it doesn’t, the sensor alignment or wiring needs attention.
- Check the wall control and remotes. If a remote hasn’t been re-paired in years, it may need a battery or a re-sync. LiftMaster and Chamberlain remotes re-pair easily; Craftsman usually needs the wall button pushed twice in sequence. Follow the brand’s instructions.
- Look at the LED indicators on the opener. Most openers have small lights that indicate power, diagnostic status, and photo-eye alignment. If a diagnostic light is blinking a code you don’t recognize, note it and call – it’s usually telling you exactly what’s wrong.
What not to do
Do not open the opener housing to inspect the logic board, capacitors, or wiring. Capacitors store a charge even after unplugging, and logic boards are easily damaged by static or by handling. If the opener trips a breaker, smells hot, makes a crackling sound, or repeatedly reverses without any obstruction, treat it as an electrical issue and get a technician. The same applies to any wiring running from the safety sensors to the opener – if it’s frayed, pinched, or visibly damaged, don’t attempt a repair yourself.
Opener logic boards do fail. When they do, the fix isn’t usually a full replacement – it’s an opener-specific repair, and replacing the board on a properly matched system is often the answer. Our team works on opener boards on every brand we service, which is why we offer garage door opener repair as a primary service rather than an afterthought.
A Realistic Time-Per-Task Breakdown
One of the reasons maintenance gets skipped is that people assume it takes hours. It doesn’t. Here’s what a full checkup actually looks like, timed on a standard two-car door. Read the estimate as a range, not a promise – older doors or ones with deferred maintenance take longer.
- Visual inspection: 5 minutes. Walk the perimeter, look up at the ceiling, and glance at the track.
- Balance test: 3 to 5 minutes. Pull the release, lift, let go, lower, repeat.
- Hardware snug-down: 5 to 8 minutes. A wrench and the bolts you can reach from the floor.
- Lubrication: 8 to 12 minutes. Spray, wipe, move on. The spring shaft gets skipped.
- Safety reverse and photo-eye test: 4 to 6 minutes. Two cycles for each.
- Weather seal check: 2 minutes. Run a hand along the bottom edge.
- Opener remote and wall control check: 3 to 5 minutes. Fresh batteries, re-pairing if needed.
- Clean the door itself: 5 to 10 minutes. Dry cloth or mild detergent; no abrasive cleaners.
That’s roughly 30 to 45 minutes for a full checkup. The spring and cable portion of the inspection is the only part not on this list, because it requires a technician. If you add that to a professional visit, expect the inspection itself to be quick – a trained technician can spot spring wear in a few minutes.
The best routine is once a year for the full checkup and monthly for the two safety tests (reverse and photo-eye). That’s the minimum that keeps a door safe and keeps a technician out of your weekend.
How Lowell Weather and Housing Shape Your Maintenance Calendar
Lowell gets real winters. Freeze-thaw cycles pound the concrete in front of the door, and the bottom seal takes the brunt. In a cold snap, a seal that was marginally fine in October will let in drafts by January. That’s why the seal check belongs on your fall checklist, not just spring.
Summer brings a different set of concerns. The heat and humidity expand wood framing and soften lubricant. Doors that ran quietly in April often develop a squeak by July. If you hear noise emerge in summer, it’s often the same part you lubed in spring, now telling you the lubricant was the wrong product or too thick. A lighter, non-gumming product applied again in late summer is usually the fix.
The housing stock matters too. In Lowell’s older neighborhoods – Belvidere, the Highlands, sections of the Acre – doors have often been replaced once and kept the same opener. Those systems are survivors, but they’re also at the age where spring wear is common. Newer construction on the city’s edges tends to carry newer smart openers, which need different attention: firmware updates for myQ-compatible Chamberlain and LiftMaster units, and photo-eye alignment that survives yard work and snow shoveling.
Track maintenance matters year-round in Lowell because the freeze-thaw cycle moves the concrete slab in front of the door. A door that sits flush in summer may rub the seal in winter. Check alignment seasonally and note any change – that’s a maintenance matter, not a repair yet.
Common Mistakes to Avoid
- Lubricating the torsion spring shaft. It’s the single most common error. The shaft attracts grit when lubricated, and the grit accelerates spring wear. Skip it entirely.
- Using heavy grease on nylon rollers. Nylon rollers are self-lubricating and can be degraded by some spray products. Check the roller color first.
- Over-tightening track bolts to stop a wobble. Wobble is usually alignment, not looseness. Tightening the bolts can misalign the track further.
- Skipping the safety reverse test because “it worked last year.” It’s the single most important check on the door, and it can fail quietly. Test it monthly.
- Assuming the opener is the problem when the door is the problem. A door that doesn’t close fully is often a sensor or a track issue, not the opener. Photo-eyes go out of line from snow shoveling and yard work.
- Ignoring a slight rub at the bottom of the door through winter. That rub is a seal that will crack by spring. Adjust or replace it before the freeze sets in.
- Treating a balance test failure as a “call it if it gets worse” problem. A door that fails balance is telling you springs are weakening. Waiting turns a planned service call into an emergency.
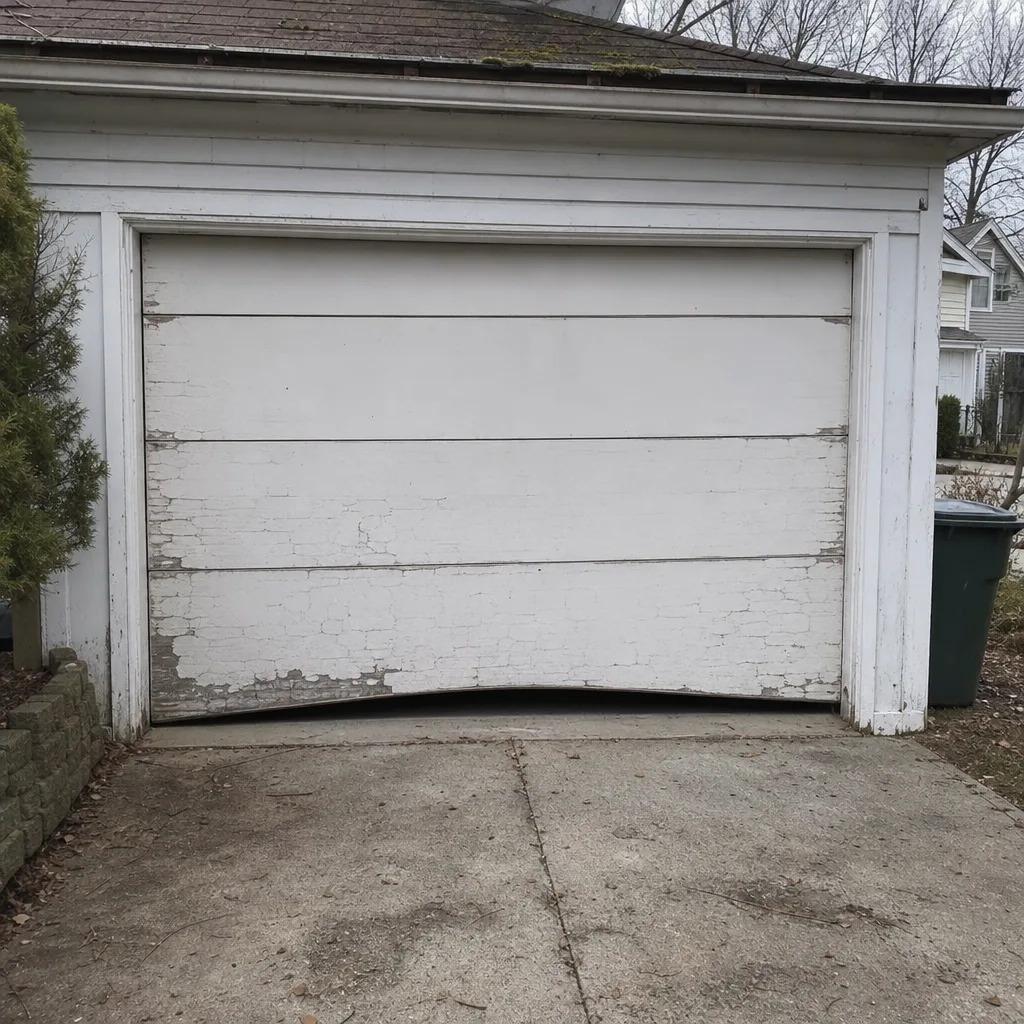
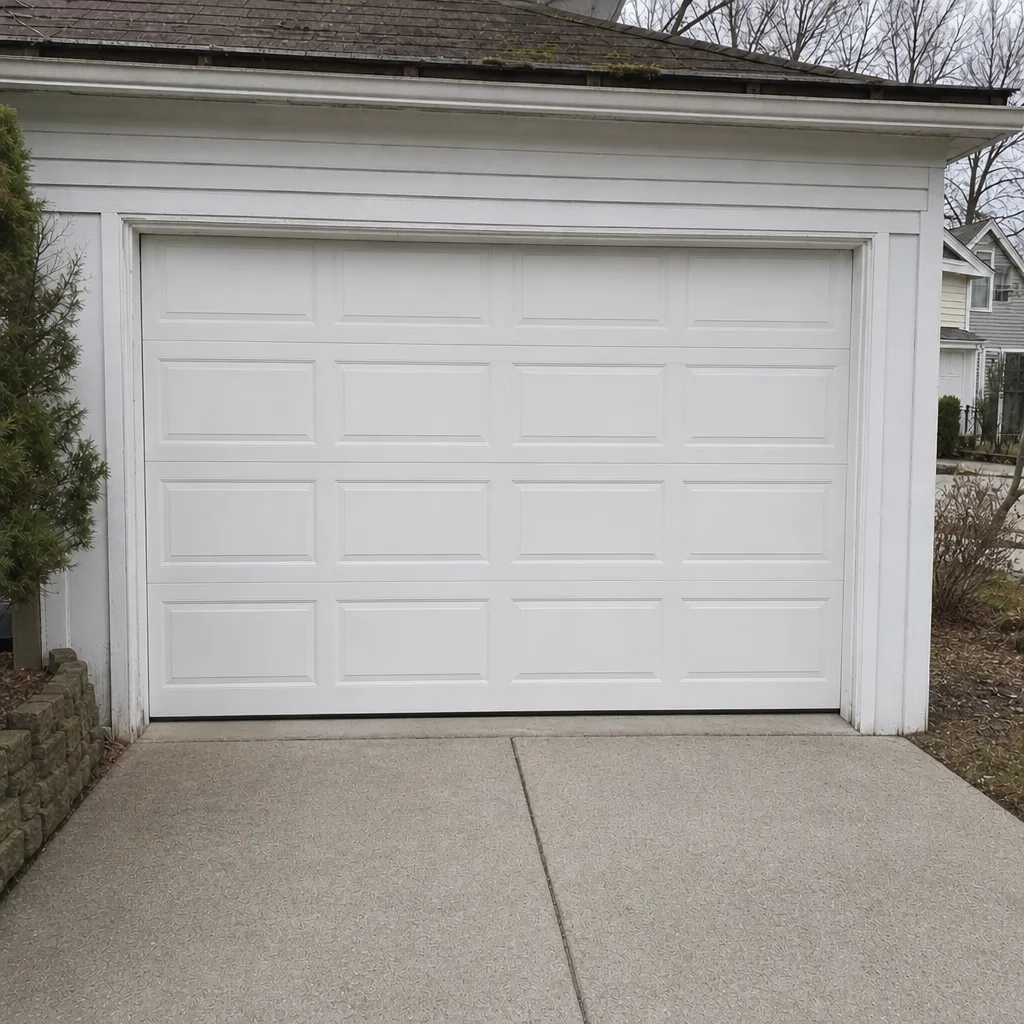
See the difference
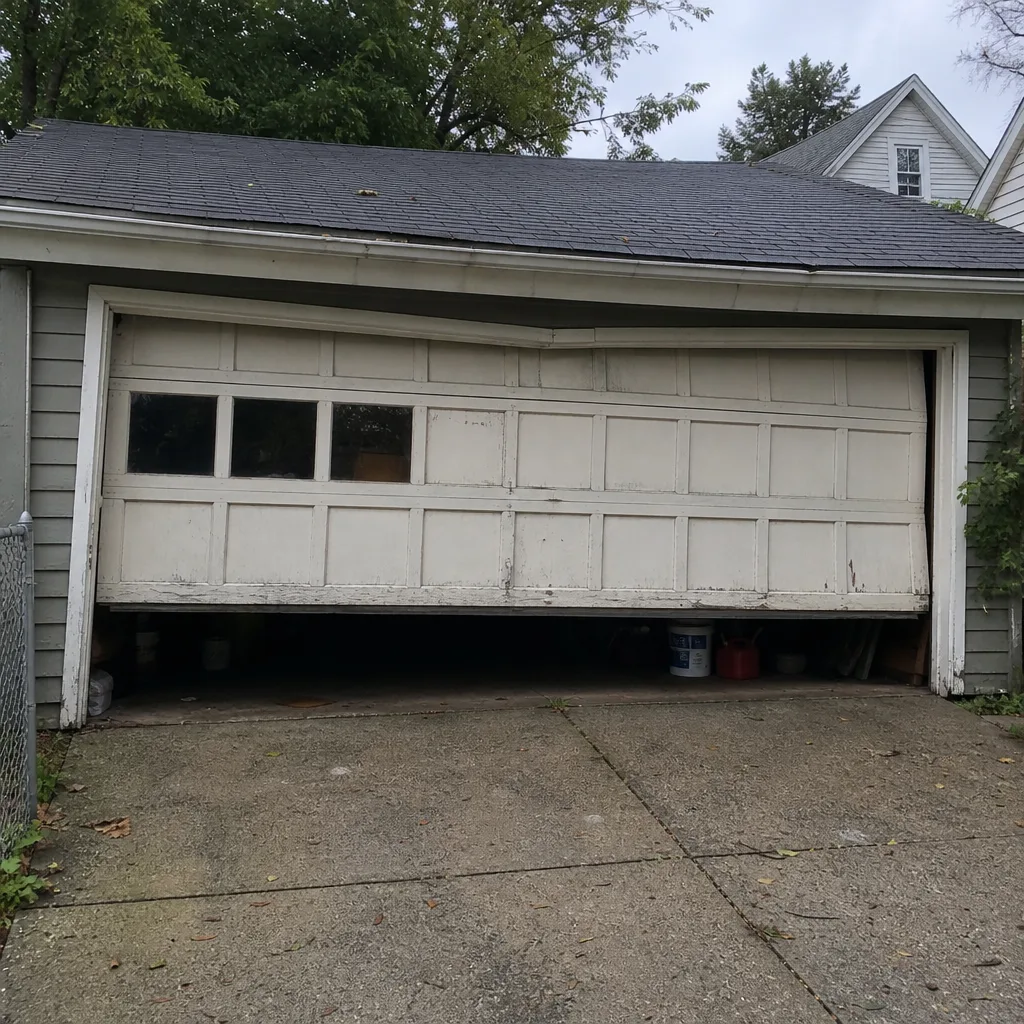 Before
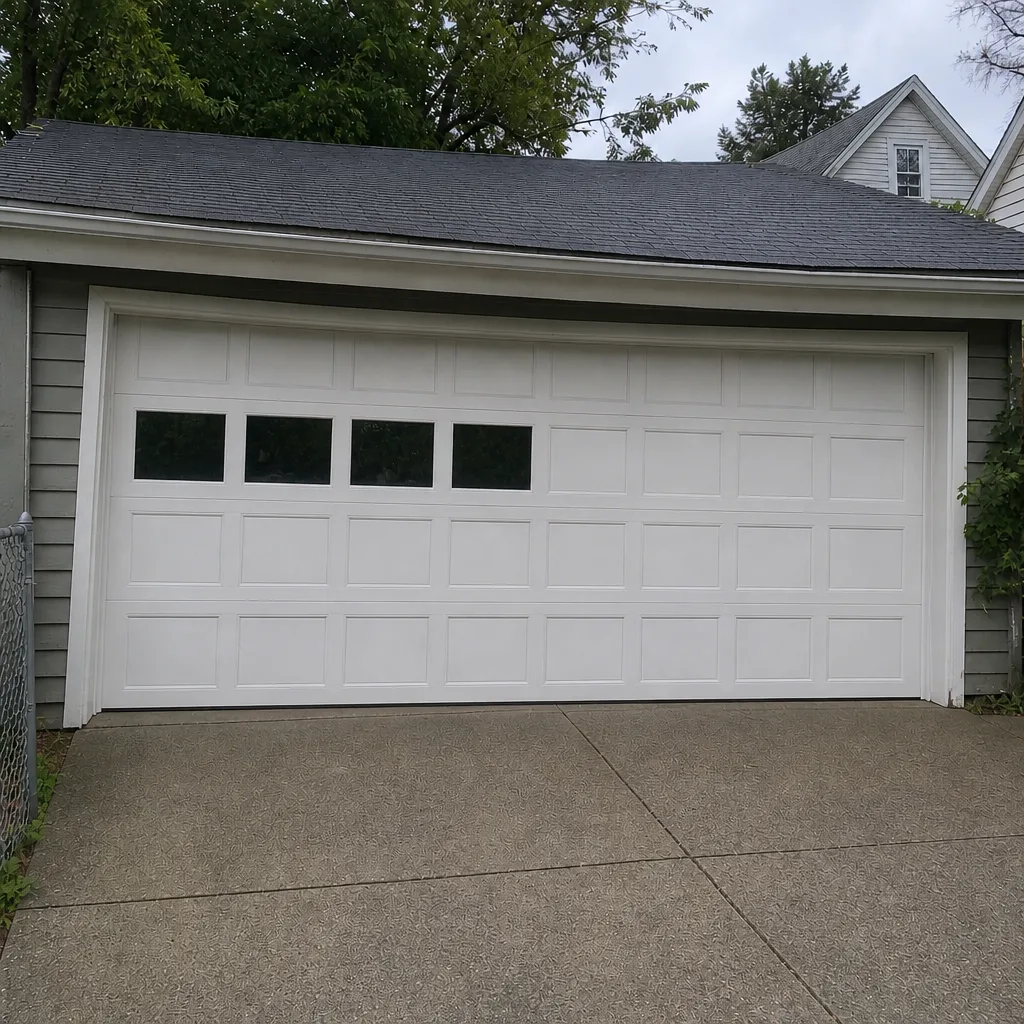 After
 Before
 After
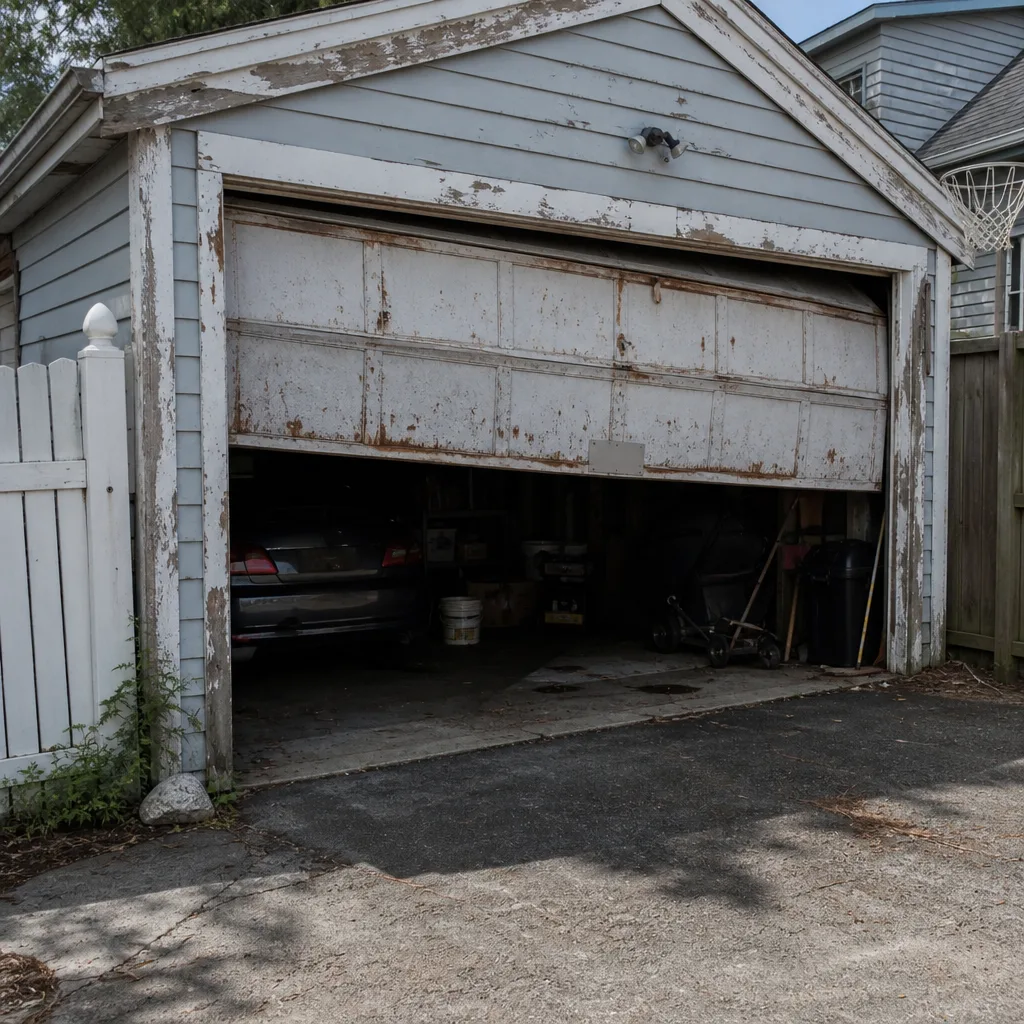 Before
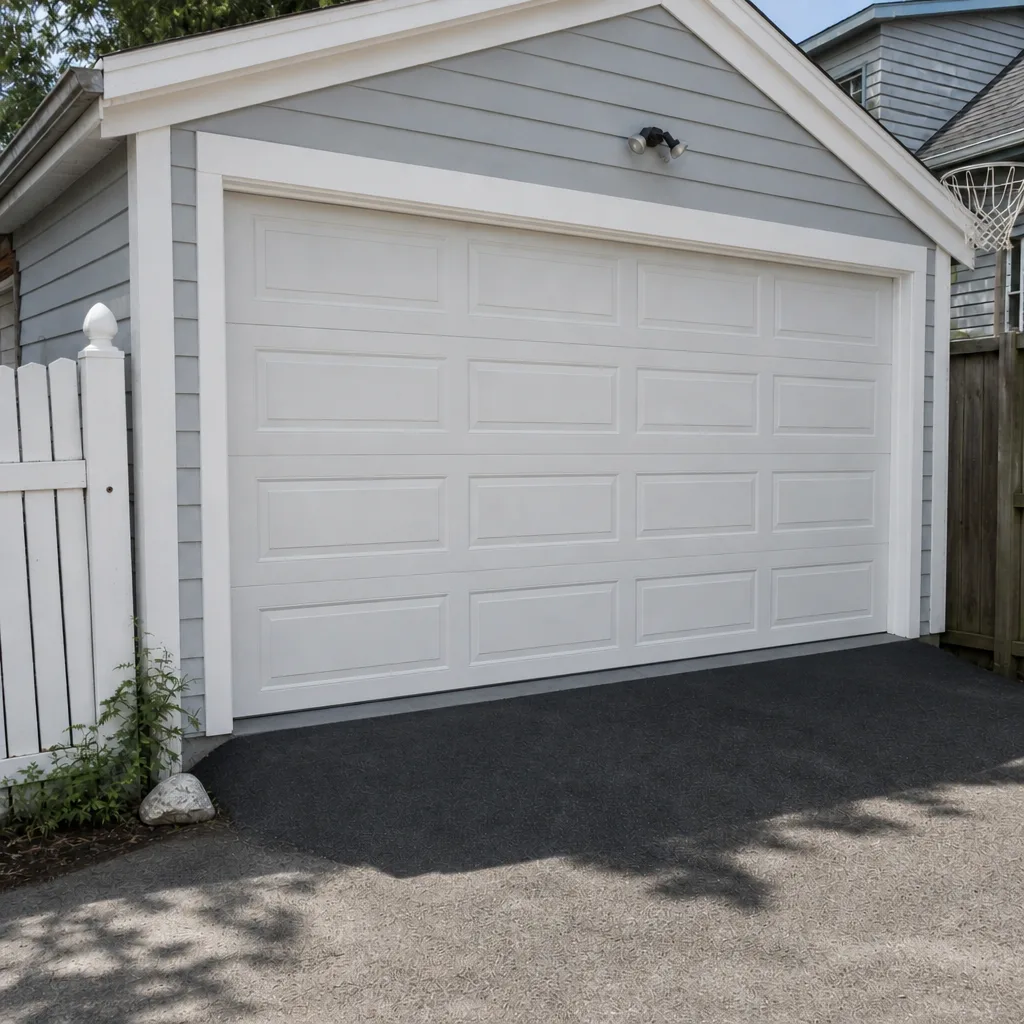 After
When to Call a Professional
Some jobs are homeowner tasks. Some are not. Call a professional if the door fails the balance test, if the door won’t close, if the opener reverses without any obstruction, if you see a broken spring, if cables are visibly frayed, or if the door is out of level. Call immediately if the door won’t stay up, if the door makes a loud bang from the spring area, or if you’re locked out because the opener won’t respond. These are the calls where time matters – a stuck door in Lowell on a cold morning is a security question and an access question at the same time.
Lowell Garage Door Repair Pros offers free estimates in Lowell. Call (833) 509-5209. We work on the eight brands you’re most likely to have – LiftMaster, Chamberlain, Genie, Clopay, Amarr, Wayne Dalton, Craftsman, and Raynor – and our technicians have up to 11 years of experience with doors of every age in Lowell. Whether you need a spring, a balance test, a seal replacement, or a full door replacement, one call covers it. Our team also handles Lowell Garage Door Repair Pros full-service work, from repair through installation.
If your call is about a spring, don’t try to move the door first. The risk isn’t worth it. We’d rather do a safe, planned repair than see an injury from a job that was avoidable.
Frequently Asked Questions
Once a year for the full checkup, plus monthly safety tests (reverse and photo-eye). That’s the routine that catches most problems early. In Lowell’s climate, we recommend the full checkup in the fall so the door is ready for the freeze-thaw season, and a lighter seal and lubrication check in late summer if the door sees heavy use. Call (833) 509-5209 for a free estimate if you’d like a professional checkup to start.
Yes, on the parts that call for it – hinges, roller stems, tracks, and the opener’s chain or screw drive, per your brand’s spec. Do not lubricate the torsion spring shaft or nylon rollers. If you’re not sure which rollers you have, look at the color: white or cream is nylon, silver is steel. Call us if you’d rather have it done – a lubrication-only visit is quick.
A door that fails the balance test, a door that goes up unevenly, a grinding or squealing noise that gets worse over several days, an opener that reverses with nothing in the way, a door that slams instead of settling, or a visible spring or cable problem. Any of these deserves a technician rather than a homeowner fix. Call (833) 509-5209 and we’ll diagnose it – free estimates.
No. Springs are under extreme tension and getting them wrong can cause serious injury. This is the most dangerous part of the door and the part a trained technician is specifically equipped to handle. Our garage door spring repair service is dedicated to exactly this job; call us for a free estimate and leave the coils to us. If your door has a broken spring, don’t cycle it, and don’t try to lift it manually to test it.
It prevents a lot of failures and, more importantly, it lets you see the ones coming. Springs that are wearing show it in the balance test before they break. A photo-eye that’s drifting shows it in a monthly test. Maintenance won’t make a door last forever, but it turns most emergency calls into planned service calls, which is easier on the schedule and easier on the door. The one thing maintenance cannot do is stop a spring from eventually failing; it has a service life, and maintenance is about catching that failure at the right time.
Yes, subtly. Chamberlain rails differ from LiftMaster, Clopay panel seams collect debris differently than Wayne Dalton, and Craftsman openers have their own rail-tension and diagnostic-light quirks. The general routine is the same across all eight brands we service, but the points of attention differ by brand and door age. Call (833) 509-5209 and tell us your brand and model – that detail alone shortens the diagnosis.
The Bottom Line
A garage door in Lowell needs about 45 minutes a year of your time to stay safe and quiet. Do the homeowner checks (visual, hardware, lubrication, safety reverse, photo-eye, seal), run the balance test twice a year, and skip the spring shaft and nylon rollers when you lubricate. Spring, cable, and opener-board work belongs to a technician. Catch spring wear early with balance, catch safety issues early with monthly tests, and the door will reward you with quieter operation and fewer surprises. When something looks off or you’d rather have it checked properly, our team at Lowell Garage Door Repair Pros is one call away.
Written by the team at Lowell Garage Door Repair Pros.